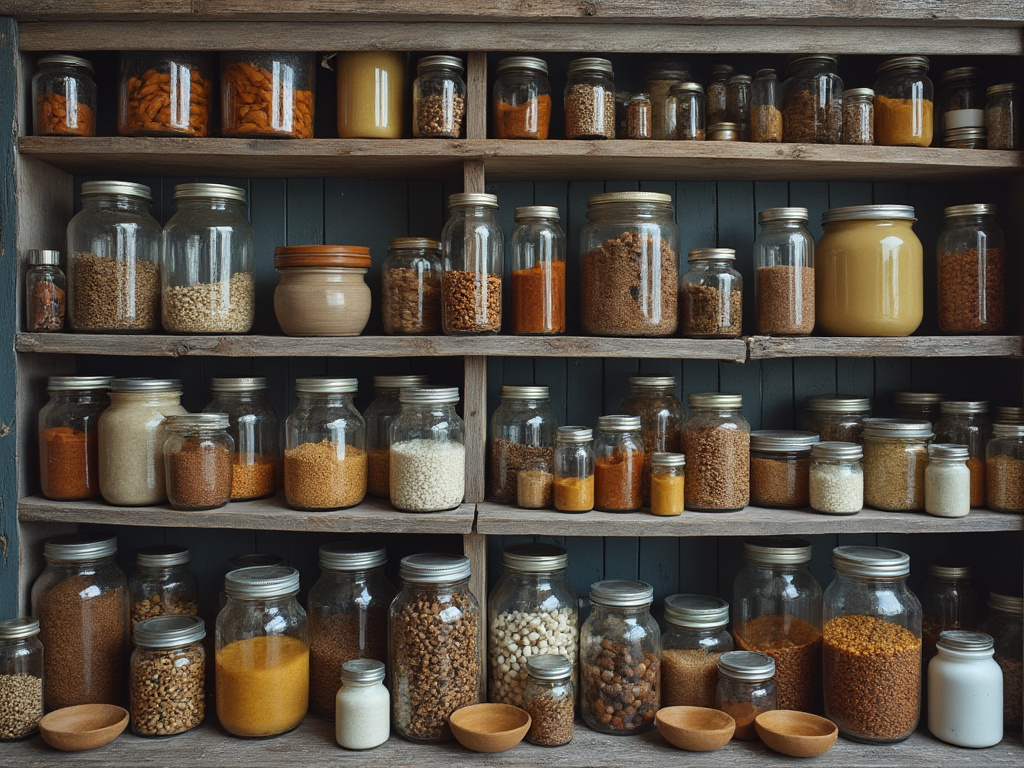
Canning is a fantastic way to preserve fruits and vegetables, locking in nutrients and flavor for long-term storage. Here’s a basic guide on how to can your produce effectively:
1. Choose Your Canning Method:
- Water Bath Canning: Suitable for high-acid foods like fruits, jams, jellies, and pickles.
- Pressure Canning: Necessary for low-acid foods like most vegetables, meats, and poultry to eliminate the risk of botulism.
2. Preparation:
- Select Quality Produce: Use fresh, unblemished fruits and vegetables at their peak ripeness.
- Wash and Prepare: Clean your produce thoroughly. Peel, slice, or chop as required. Some vegetables might need blanching (briefly boiling then plunging into ice water) to preserve color, texture, and flavor.
- Jars and Lids: Sterilize jars by boiling them or running through a dishwasher cycle. Keep them hot until use. New lids should be used each time for a proper seal, but bands can be reused.
3. Recipe and Processing:
- Follow a Tested Recipe: Canning is not the time for experimentation due to safety concerns. Use recipes from reliable sources like the USDA, or the Ball Blue Book Guide to Preserving.
- Fill the Jars:
- Raw Pack: Place raw, prepared food into jars and pour hot syrup, water, or juice over them, leaving appropriate headspace.
- Hot Pack: Pre-cook the food slightly, then pack it into jars with the cooking liquid or boiling water, again leaving headspace.
- Remove Air Bubbles: Use a non-metallic spatula or air bubble remover tool to eliminate air pockets.
- Wipe and Seal: Wipe the rim clean, place the lid on top, and screw the band down until fingertip tight.
4. Canning Process:
- Water Bath Canning:
- Place jars in a canner filled with hot water. The water should cover the jars by 1-2 inches. Bring to a boil and process for the time specified in your recipe.
- Pressure Canning:
- Add water to the pressure canner as per the manufacturer’s instructions. Place jars inside, seal the canner, and heat to vent steam for 10 minutes before adding the weight or closing the vent. Process at the pressure (PSI) and time recommended for your altitude and the type of food.
5. After Canning:
- Cooling: After processing, turn off the heat. For pressure canning, let the pressure return to zero naturally. Carefully remove jars without tilting them and place them on a towel to cool for 12-24 hours.
- Check Seals: Press the center of each lid. If it doesn’t flex up and down, it’s sealed. Any unsealed jars should be refrigerated and used soon.
- Label and Store: Label jars with the content and date. Store in a cool, dark, and dry place.

6. Safety Tips:
- Botulism Prevention: Always use proper canning techniques, especially for low-acid foods.
- Acidity Levels: If you’re canning tomatoes or pickles, ensure you add enough acid (like lemon juice or vinegar) to maintain safe acidity levels.
- Altitude Adjustments: Processing times or pressure must be adjusted for altitude to ensure safety.
By following these steps, you’ll be able to preserve your fruits and vegetables safely and enjoy them throughout the year. Remember, if in doubt about the safety of any canned food (bulging lids, off smells, mold), it’s best to err on the side of caution and discard it.

