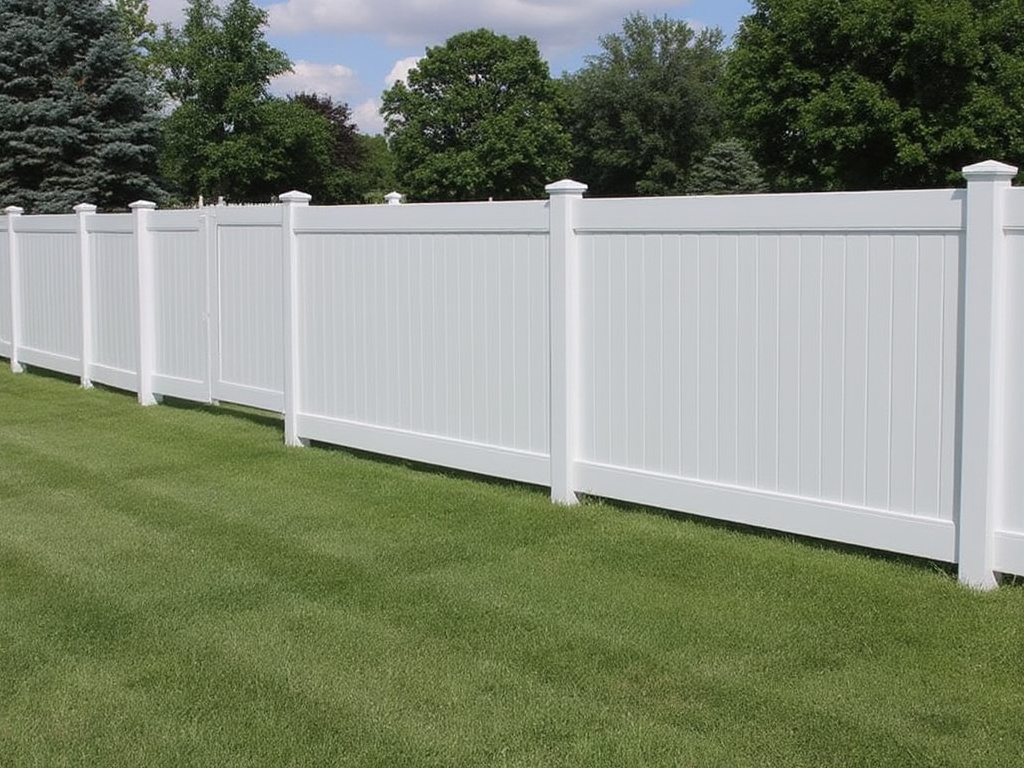
Building a fence involves several steps, which can ensure that the fence is sturdy, functional, and aesthetically pleasing. Here’s a general guide on how to build a fence:
1. Planning and Preparation
- Determine the Purpose: Are you building the fence for privacy, security, pet containment, or decoration?
- Check Local Regulations: Look into local zoning laws, homeowners association rules, or any permits required. Check for underground utilities where you plan to dig.
- Choose Fence Type: Decide on the material (wood, vinyl, metal, etc.) based on your needs for durability, maintenance, privacy, and aesthetics.
- Measure the Area: Accurately measure where the fence will go to determine how much material you need.
2. Design and Layout
- Draw a Plan: Sketch your property and where the fence will go. Mark the locations for posts.
- Stake Out the Line: Use stakes and string to mark the fence line, ensuring it’s straight and where you want it.
3. Gather Materials and Tools
- Materials: Posts, panels or boards, concrete mix, screws or nails, gate hardware if needed.
- Tools: Post hole digger or auger, shovel, level, saw, drill, measuring tape, string line, hammer, and possibly a power mixer for concrete.
4. Set the Posts
- Dig Holes: Typically, holes should be about 1/3 the length of the post deep, and at least 6 inches wider than the post. For example, for an 8-foot fence, posts might be set 2 to 3 feet deep.
- Position Posts: Place posts in holes, use a level to ensure they’re vertical.
- Secure Posts: Pour concrete into the hole around the post. Allow it to set according to the concrete manufacturer’s instructions. Use temporary braces to hold posts in place while the concrete cures.
5. Attach Rails or Panels
- For Wood Fences:
- Bottom Rail: Install the bottom rail, which should be a few inches off the ground.
- Top Rail: Install the top rail, ensuring it’s level.
- Middle Rails: Depending on fence height, you might need additional rails.
- For Panel Fences:
- Attach the panels to the posts, ensuring they are level and evenly spaced.

6. Install Fence Boards or Pickets
- Spacing: If you’re not using pre-made panels, decide on the spacing between boards for privacy or airflow.
- Attachment: Use screws or nails to attach boards to the rails. Ensure each board is level or follows the land’s contour uniformly.
7. Add Caps and Gates
- Post Caps: These can be decorative and protect the posts from water.
- Gates: Install gates with sturdy hardware. Ensure it swings freely and latches properly.
8. Finishing Touches
- Stain or Paint: If you’ve chosen wood, you might want to paint or stain it for protection and appearance.
- Sealant: Apply a weatherproof sealant if necessary.
9. Maintenance
- Regularly check for any damage, rot, or needed repairs, especially after severe weather.
Tips:
- Consider the Climate: Choose materials that will withstand local weather conditions.
- Aesthetics: Think about how the fence looks from both sides if it’s visible to neighbors or the public.
- Professional Help: If the project seems overwhelming or requires skills you’re not confident in, consider hiring professionals, especially for complex terrains or very long fences.
Building a fence can be a DIY project, but it requires careful planning, physical labor, and attention to detail for a successful installation.

