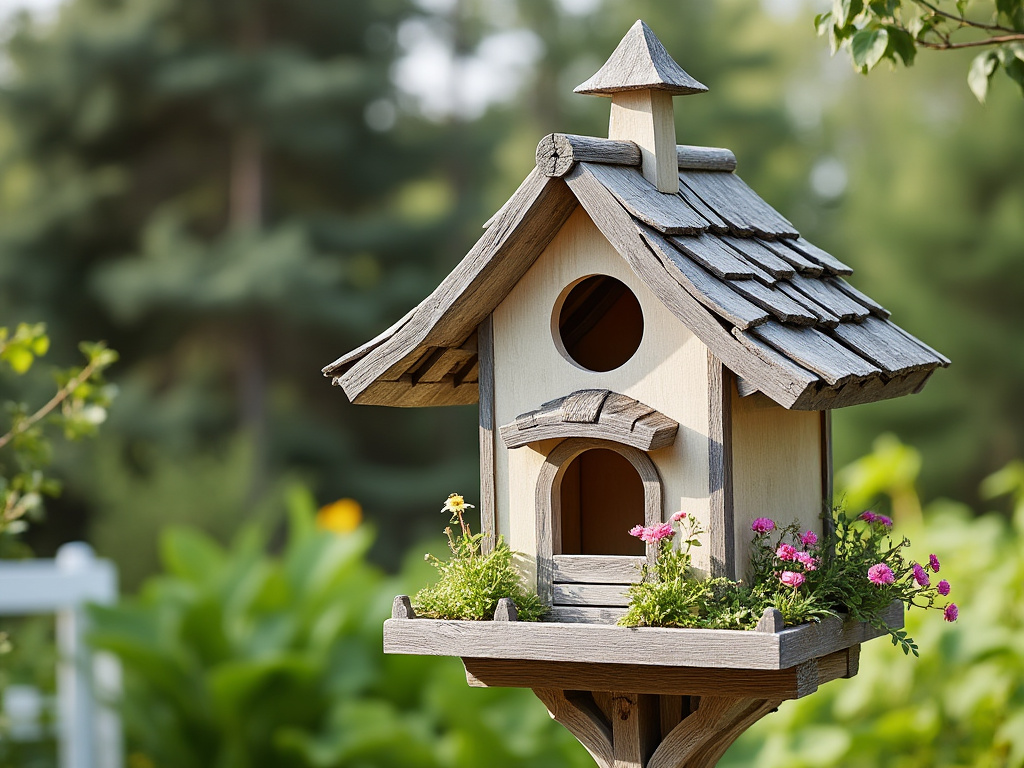
Building a bird feeder can be a fun and rewarding project. Here are some simple steps to create a basic wooden bird feeder:
Materials Needed:
- Wooden planks or cedar wood (weather-resistant)
- Saw (hand saw or power saw)
- Nails or screws
- Hammer or screwdriver/drill
- Sandpaper
- Outdoor paint or wood stain (optional for decoration and protection)
- Waterproof wood glue
- A piece of plexiglass or thin wood for the roof (optional)
- Perch dowels or sticks
- Bird seed
- Eye hooks or a hanger for mounting
Steps:
- Design Your Feeder:
- Decide on the size and style. A simple design might include a base, two sides for the seed to come out, a roof, and walls or rails to keep the seed in.
- Cut the Wood:
- Cut one piece for the base (e.g., 10×10 inches for a small feeder).
- Cut two pieces for the sides where the seed will be accessible. These should be sloped or angled so seeds can flow towards the opening (e.g., triangular or trapezoidal shapes).
- Cut two pieces for the front and back, which can either be solid or have an opening at the bottom for seed access.
- Optionally, cut two pieces for the roof. One slightly larger than the other for overhang.
- Assemble the Base and Sides:
- Attach the front and back pieces to the base using nails or screws. Ensure there’s a gap at the bottom for seeds to come out or for plexiglass if you’re using it.
- Attach the side pieces to the base and to the edges of the front and back, forming a seed reservoir.
- Add the Roof:
- If you’re using a roof, attach the smaller roof piece to the larger one at an angle to create an overhang. This helps to keep the seed dry.
- Secure the roof to the body of the feeder. You can hinge one side for easy refilling if desired.
- Install Perches:
- Drill holes below the seed openings and insert dowels or sticks to serve as perches for the birds.
- Sand and Finish:
- Sand all edges and surfaces to avoid splinters.
- Paint or stain the wood if you want to add color or extra weather protection. Make sure any finish you use is non-toxic to birds.
- Add Plexiglass (Optional):
- If you want to see the seed level, you can add plexiglass sides instead of solid wood on the sides where the seed comes out. Secure with small nails or screws.

- Mount or Hang:
- Attach eye hooks or a hanging mechanism at the top of the feeder. You can hang it from a tree branch or mount it on a pole.
- Fill with Seed:
- Fill your feeder with appropriate bird seed. Consider using a mix that attracts a variety of birds.
- Maintenance:
- Regularly check the feeder for mold or spoiled seed, especially after rain. Clean it out as necessary to keep the birds healthy.
Remember, the specifics of your bird feeder can vary based on your tools, materials at hand, and the types of birds you wish to attract. This guide provides a basic framework; feel free to get creative with designs or add features like squirrel baffles or drainage holes in the base.

