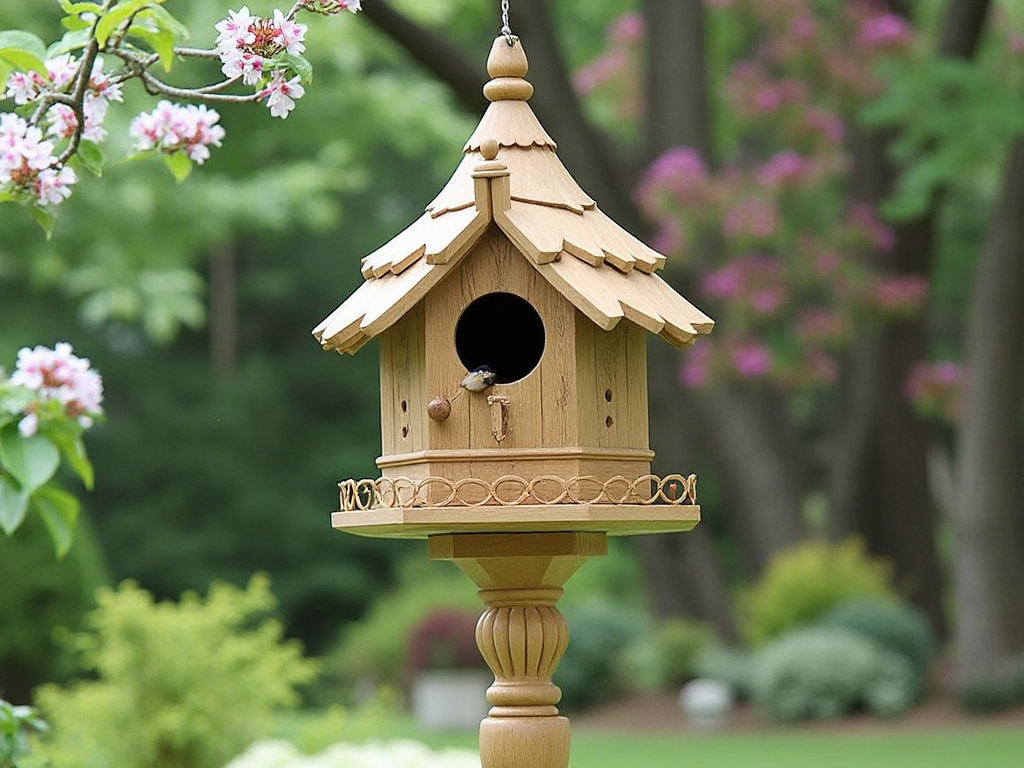
Building a birdhouse can be a fun and rewarding project. Here’s a straightforward guide to creating a birdhouse that’s both functional for birds and aesthetically pleasing:
Materials Needed:
- Wood: Cedar or redwood are great as they are weather-resistant. Avoid treated wood which can be harmful to birds.
- Saw: To cut the wood to size.
- Drill: With various bits for making holes and ventilation.
- Screws and Nails: Galvanized or stainless steel to prevent rusting.
- Wood Glue: Waterproof.
- Sandpaper: For smoothing edges.
- Paint or Stain: Non-toxic, water-based for finishing (optional).
- Roofing Material: Shingles or metal sheet for extra protection (optional).
- Measuring Tape and Pencil: For marking dimensions.
Steps to Build:
- Design and Measurements:
- Front and Back: About 9 inches tall, width can vary but 6 inches is common.
- Sides: Typically, one side could be shorter to create a sloped roof, e.g., one piece 7 inches and the other 8 inches tall at the peak.
- Floor: 4×4 inches or slightly larger.
- Roof: Two pieces, one could be 10 inches long to overhang, the other matching or slightly shorter.
- Cut the Wood:
- Cut your pieces according to your measurements. Ensure you account for the thickness of the wood when cutting pieces that need to fit together.
- Drill the Entry Hole:
- Use a drill with a hole saw or spade bit. The diameter depends on the bird species you want to attract (e.g., 1.5 inches for bluebirds). Place it high enough to prevent predators from reaching inside but not too close to the roof.
- Create Ventilation and Drainage:
- Drill small holes near the top of each side for air ventilation.
- Drill a few small holes in the floor for drainage.
- Assemble the Birdhouse:
- Pre-drill holes to prevent splitting, then use wood glue and screws or nails to assemble.
- Attach the sides to the back piece first, then add the floor, followed by the front. Ensure everything is flush and square.
- Attach one roof piece, ensuring it overhangs at the front, then the second overlapping piece.
- Sand and Finish:
- Sand any rough edges or surfaces.
- Optionally, paint or stain the outside with non-toxic products. Avoid painting the inside.
- Mounting:
- You can add a mounting plate or directly screw it onto a post or tree. Ensure it’s secure, about 5 to 15 feet off the ground, to deter predators.
- Add Features:
- Consider adding a hinged side or roof for easy cleaning after nesting season.
- A small perch below the entry hole can be added, but some prefer not to, as it can aid predators.

Tips:
- Predator Guard: You might want to add a predator guard around the entry hole to make it harder for predators to reach inside.
- Orientation: Face the birdhouse away from prevailing winds and direct midday sun.
- Maintenance: Clean out the old nest material annually to encourage new tenants.
Remember, different birds have different preferences, so you might want to research the specific needs of local bird species if you’re aiming to attract a particular guest. Enjoy your building project, and happy birding!

