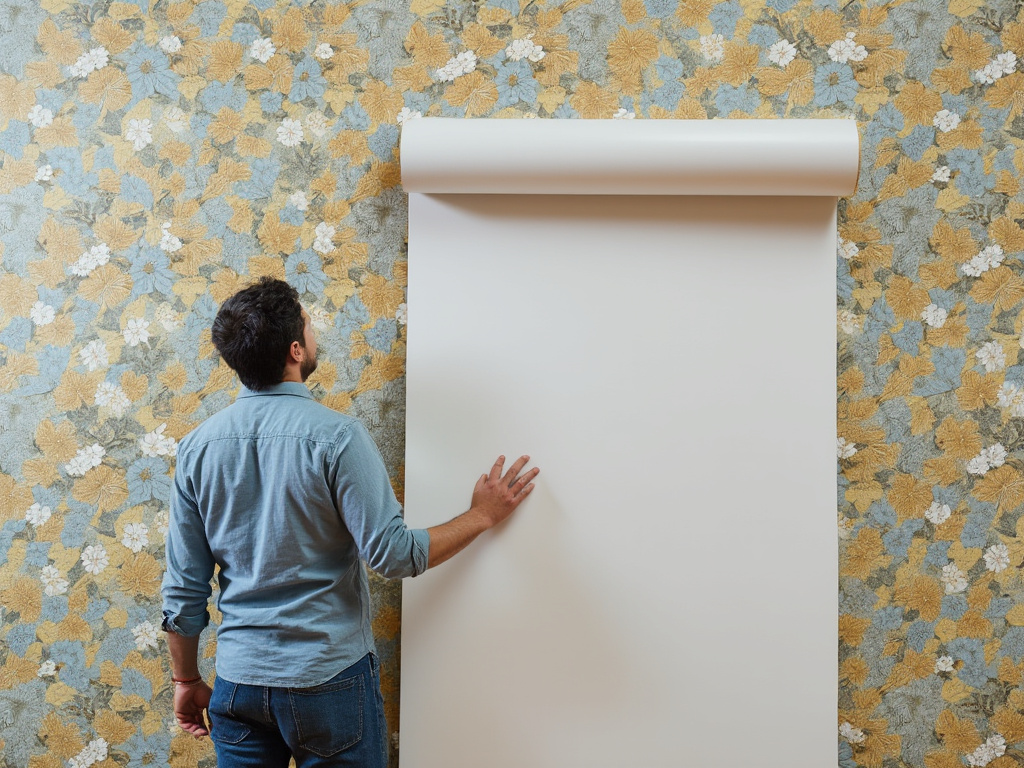
Installing wallpaper can be a fun way to transform the look of a room. Here are the general steps for installing traditional wallpaper:
Materials Needed:
- Wallpaper
- Wallpaper paste (if not pre-pasted)
- Primer (optional but recommended)
- Wallpaper brush or smoother
- Utility knife or wallpaper cutter
- Measuring tape or ruler
- Level or plumb line
- Bucket for paste
- Sponge and water for cleanup
- Seam roller
- Ladder or step stool
Steps:
- Prepare the Walls:
- Remove old wallpaper if necessary.
- Clean the walls to remove any dirt or grease.
- Fill any holes or cracks with filler and sand smooth.
- Apply a primer or wallpaper undercoat. This helps the paper adhere better and makes it easier to remove later.
- Measure and Cut the Wallpaper:
- Measure the height of your wall. Add an extra 4-6 inches (10-15 cm) to this measurement for trimming at the top and bottom.
- Cut your wallpaper into strips according to these measurements.
- Mark a Plumb Line:
- Starting from a corner or a window (where the mismatch won’t be too noticeable), use a level or plumb line to draw a vertical line on the wall. This ensures your first strip is perfectly vertical.
- Apply Paste:
- If your wallpaper isn’t pre-pasted, lay a strip pattern-side down on a table or flat surface and apply paste evenly.
- “Book” the wallpaper by folding the pasted sides onto themselves (without creasing), and let it sit for the time recommended by the manufacturer to allow the paste to soak in.
- Hang the First Strip:
- Unfold the top half of your “booked” strip and align it with the ceiling, allowing for overlap at the top.
- Use your plumb line as a guide to ensure it’s straight.
- Smooth it out with a wallpaper brush or smoother to remove bubbles, working from the center outward.
- Trim Excess Paper:
- Use a straight edge and a sharp utility knife or wallpaper cutter to trim the excess at the top and bottom.
- Hang Subsequent Strips:
- Apply each new strip by matching the pattern as closely as possible and sliding it into place.
- Use the seam roller to gently press down the seams after each strip is hung, ensuring they are flat and adhered.
- Corners and Difficult Areas:
- For inside corners, measure from the last full strip to the corner at both the top and bottom, add about a half-inch (1 cm), and cut your wallpaper lengthwise to this width. Hang this piece, wrapping the extra around the corner. Then, hang the next piece starting from the corner, overlapping slightly if necessary.
- For outside corners or around windows and doors, similar principles apply, but you might need to cut and overlap pieces to fit.
- Finishing Up:
- Once all strips are up, go over the entire wall with a damp sponge to clean off any excess paste.
- Allow the wallpaper to dry completely.

Tips:
- Air Bubbles: If you see air bubbles after the wallpaper has dried, you can make a small cut with a razor, apply some paste, and smooth it back down.
- Electrical Outlets: Turn off the electricity, remove the outlet cover, hang your paper, then cut an X over the outlet and trim away the excess before replacing the cover.
Remember, peel-and-stick wallpaper is also an option if you’re looking for something less permanent or easier to apply. The process for that would involve fewer steps, mainly focusing on aligning and smoothing out as you peel off the backing.

