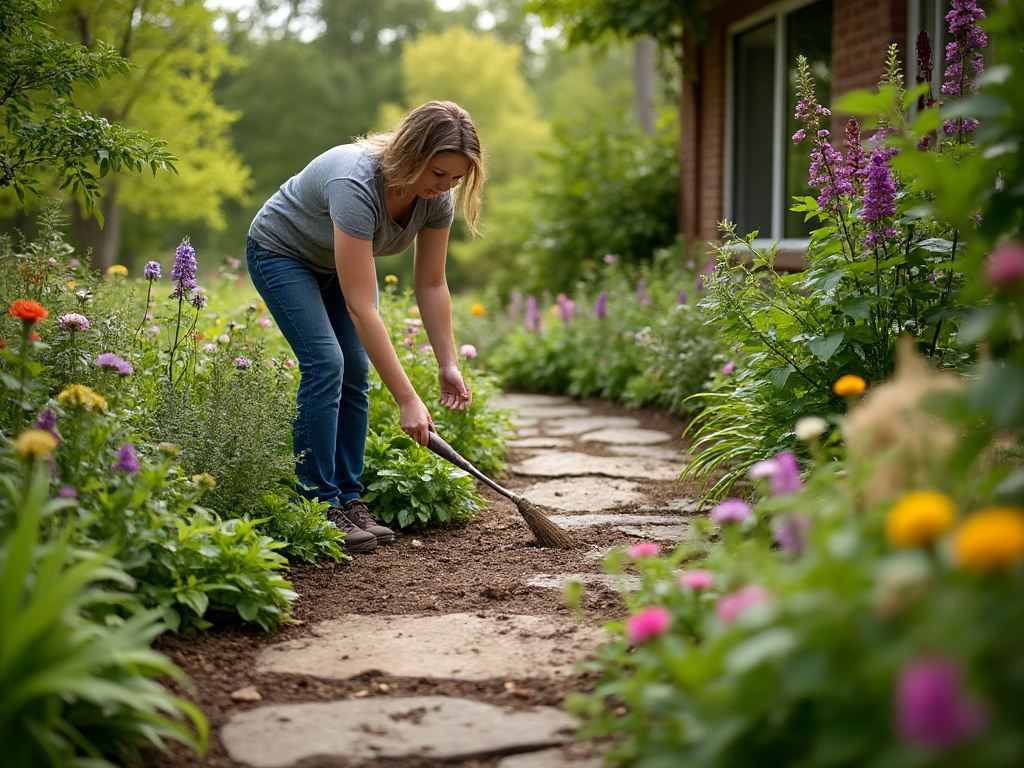
Installing a garden path can enhance the aesthetic appeal of your outdoor space while providing a functional walkway. Here are the steps to install a garden path:
1. Planning and Design
- Choose the Material: Decide on the materials for your path (e.g., gravel, stepping stones, pavers, brick, or poured concrete).
- Design the Path: Sketch the path on paper or use garden design software. Consider the width, which typically should be around 2 to 3 feet for a single person path, or wider if you want two people to walk side by side.
- Mark the Path: Use string, stakes, or garden hose to outline where the path will go in your garden. Walk the path to ensure the route feels natural.
2. Preparation
- Measure and Order Materials: Calculate the amount of material needed. Order a bit extra to account for cutting, breakage, or miscalculations.
- Gather Tools: You’ll likely need a spade, shovel, wheelbarrow, level, tamper, rake, and perhaps a saw or cutter if you’re using materials that need shaping.
3. Excavation
- Dig Out the Path: Remove grass, roots, and topsoil to a depth that accommodates the base layer, the path material, and perhaps a bit extra for settling. For most paths, this might be about 4-6 inches deep.
- Edge the Path: Install edging material (plastic, metal, brick, or wood) along the sides to define the path and prevent the path materials from spreading.
4. Base Installation
- Lay the Base: Pour in a layer of compactable gravel or road base. This layer should be about 2-4 inches thick after compaction.
- Compact the Base: Use a hand tamper or a plate compactor to compact the base material. This step is crucial for stability and drainage.
5. Sand Layer (for certain materials)
- If you’re using pavers, bricks, or stones:
- Add Sand: Spread a 1-inch layer of sand or fine gravel over the compacted base. This helps in leveling the pavers or stones.
- Level the Sand: Use a screed (a long, flat board) to level the sand.

6. Laying the Path Material
- Place Your Material: Start laying your stones, pavers, or bricks according to your design. For stones or pavers:
- Use a rubber mallet to tap them into place.
- Ensure they are level with each other and follow the slope of the path for drainage.
- Gravel or Loose Material:
- Spread evenly, then rake to level. You might need to add more in low spots.
7. Finishing Touches
- Fill Joints: If using pavers or stones, sweep sand or fine gravel into the joints to lock them in place. Polymeric sand can be used to prevent weed growth and ant infestation.
- Edge Finishing: Ensure the edging is secure and perhaps add a decorative touch or plants along the sides.
8. Settling and Maintenance
- Settle the Path: Water the path if you’ve used sand or gravel to help it settle.
- Maintenance: Over time, check for any displacement, weed growth, or sinking areas that might need topping up or leveling.
9. Enjoy Your Path
- Walk your new garden path and make any necessary adjustments. Consider adding solar lights or plants along the path to enhance its beauty and functionality at night.
Remember, local conditions like soil type, climate, and usage will affect how you might adjust these steps. If your path will see heavy use or if you’re in a region with freeze-thaw cycles, you might need a thicker base or different materials.

