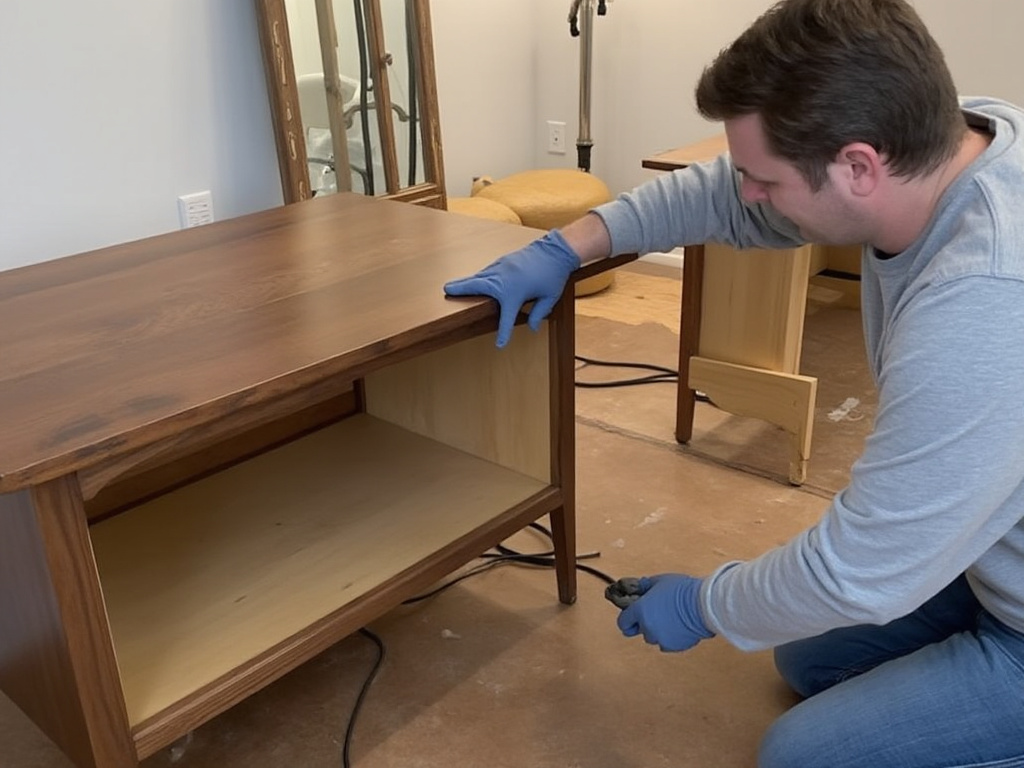
Refinishing wood furniture can rejuvenate its appearance and extend its life. Here’s a step-by-step guide to help you through the process:
Materials Needed:
- Sandpaper (various grits: 80, 120, 220, and possibly 320)
- Sanding block or electric sander
- Wood stripper (if you’re removing old finish)
- Paintbrushes
- Cloth or rags
- Steel wool (fine grade)
- Paint thinner or mineral spirits
- Wood stain (if you want to change the color)
- Protective finish (polyurethane, varnish, lacquer, or oil like tung or linseed)
- Gloves and eye protection
- Mask for fumes and dust
- Drop cloths or newspapers
- Screwdriver (for removing hardware)
Steps:
- Preparation:
- Remove Hardware: Take off any knobs, handles, or other hardware from the furniture.
- Clean: Wipe down the furniture with a mild detergent solution to remove dirt and grease.
- Stripping the Old Finish (if necessary):
- Apply a wood stripper according to the manufacturer’s instructions. Use this in a well-ventilated area or outside.
- Wait for the stripper to work, usually indicated by the old finish bubbling up.
- Scrape off the old finish with a putty knife or a plastic scraper. Be gentle to avoid gouging the wood.
- Use steel wool or a stripping brush for intricate areas.
- Neutralize the stripper as per the product’s guidance, often with water or a specific neutralizer.
- Sanding:
- Start with a coarse grit sandpaper (80-120) to remove any remaining finish or to smooth out imperfections if you didn’t strip the wood.
- Progress to medium (120-150), then fine grits (220) for a smooth finish. If you’re aiming for a very smooth surface, especially for clear finishes, you might go up to 320.
- Always sand with the grain of the wood.
- Use an electric sander for large flat areas but be cautious not to over-sand. Hand sanding might be necessary for detailed or curved areas.
- Cleaning After Sanding:
- Wipe down the furniture with a cloth dampened with mineral spirits to remove dust.
- Staining (Optional):
- If you wish to change the wood’s color, apply wood stain with a brush or cloth, following the wood grain.
- Let it sit for the time recommended by the product, then wipe off excess stain.
- Allow it to dry completely. This might take several hours to overnight.
- Applying Finish:
- Oil-based finishes: Apply with a brush or cloth, let it soak in, then wipe off excess. Oils like tung or linseed need multiple coats for good protection.
- Polyurethane or Varnish: Use a clean brush. Apply thin coats to avoid drips and bubbles. Lightly sand with fine steel wool or very fine sandpaper between coats for better adhesion and smoothness.
- Lacquer: Often sprayed on for a smooth finish. Requires good ventilation and possibly professional equipment.
- Curing:
- Allow the final coat to cure. This can take from a few days to a week, depending on the product and environmental conditions.

- Reassembly:
- Once everything is dry and cured, reattach the hardware.
Tips:
- Work in a well-ventilated area or outside if possible due to fumes from strippers, stains, and finishes.
- Test your stain and finish on a hidden area or scrap wood to ensure it matches your expectations.
- Patience is key; rushing can lead to mistakes or a less than desirable finish.
Refinishing furniture can be quite satisfying, offering a blend of craft and creativity. Remember, each piece of furniture might react differently to finishes and stains, so it’s part of the adventure to see how your project turns out!

