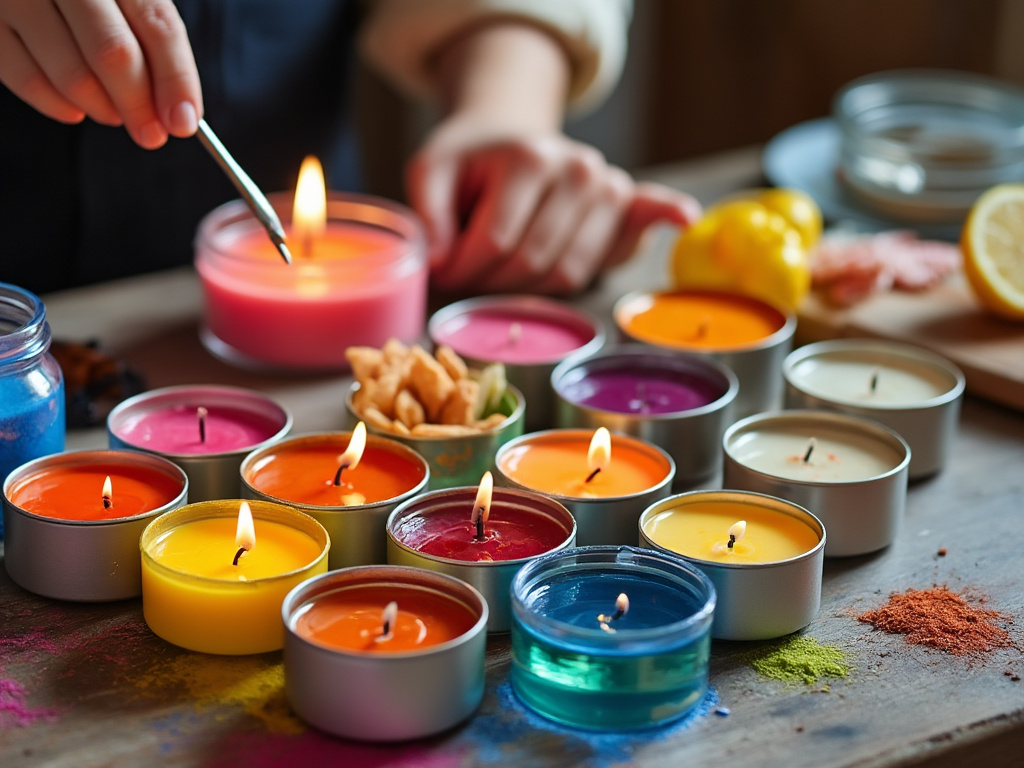
Making candles can be a fun and creative process. Here’s a basic guide to making traditional paraffin wax candles, which can be adapted for other types of wax like soy or beeswax:
Materials Needed:
- Wax: Paraffin, soy, beeswax, or any other candle wax.
- Wicks: Pre-tabbed wicks or wicks with metal bases for easier placement.
- Container or Mold: Glass jars, tins, or candle molds.
- Double Boiler: Or a makeshift one with a pot and a pouring pitcher or a heat-proof bowl.
- Thermometer: To monitor wax temperature.
- Fragrance Oils (optional): For scented candles.
- Dye (optional): Candle dye blocks or chips for color.
- Stirring Utensil: A spoon or spatula that you don’t mind getting waxy.
- Wick Holder: Wick bars, chopsticks, or pencils to hold the wick in place.
- Heat Source: Stove or hot plate.
Steps:
- Prepare Your Workspace:
- Cover your work area with newspaper or a disposable cloth. Wax can be messy.
- Measure the Wax:
- Determine how much wax you’ll need by filling your container with wax flakes or pellets, then doubling that amount since wax melts down.
- Melt the Wax:
- Use a double boiler to melt the wax. If you don’t have one, place a pouring pitcher or heat-proof bowl over a pot of boiling water.
- Heat the wax to the temperature recommended by the wax manufacturer (typically around 180-190°F or 82-88°C for paraffin).
- Add Color and Fragrance:
- Once melted, add your dye if you want colored candles. Stir until fully blended.
- Add fragrance oil at the appropriate temperature (usually just after you take the wax off the heat, around 185°F for paraffin). The standard ratio is about 1 ounce of fragrance oil per pound of wax, but this can vary.
- Prepare the Container or Mold:
- While the wax is melting, secure the wick in the center of your container or mold. Use a wick holder or simply wrap the top end of the wick around a pencil resting on top of the container.
- Pour the Wax:
- Let the wax cool slightly if recommended (check the wax’s instructions for ideal pouring temperature).
- Slowly pour the wax into your container or mold, avoiding splashing or spillage.
- Set the Wick:
- Ensure the wick stays centered as the wax begins to set. You might need to straighten it as the wax cools.
- Let it Cool:
- Allow the candle to cool slowly and completely. This might take several hours or overnight. Slow cooling helps prevent cracks or sinkholes.
- Trim the Wick:
- Once fully cooled, trim the wick to about 1/4 inch above the wax surface.
- Cure:
- If you’ve made soy candles, they might benefit from curing for a few days to a week for the fragrance to fully develop.
- If you’ve made soy candles, they might benefit from curing for a few days to a week for the fragrance to fully develop.

Tips:
- Safety First: Always monitor melting wax as it can get very hot and potentially catch fire if overheated. Never leave it unattended.
- Experiment: Feel free to experiment with layering colors or embedding objects (just ensure they’re non-flammable).
- Clean Up: Use hot water to clean tools if wax remains; soap can help break down the wax.
Remember, each type of wax has its own properties, so temperatures and techniques might vary slightly. Enjoy your candle making!

