Materials Needed:
- Drywall patch or scrap drywall
- Joint compound (also known as mud)
- Drywall tape (mesh or paper)
- Sandpaper (150-220 grit)
- Utility knife
- Putty knife or trowel
- Screws (if you’re dealing with a larger hole)
- Piece of backing board or furring strips (for larger holes)
- Paint and primer to match your wall
Steps:
- Prepare the Area:
- Clean out the hole, removing any loose debris or drywall pieces. If the edges are jagged, use a utility knife to make a clean square or rectangle around the damaged area.
- Cut the Patch:
- For small holes, you might just need a self-adhesive drywall patch. For larger holes, cut a piece of drywall to fit the hole. Ensure it’s slightly smaller than the hole so it can fit in easily.
- Install Backing (For Larger Holes):
- If the hole is large, you’ll need to install backing. Cut two pieces of furring strips or any thin wood or plastic, longer than the hole’s height.
- Place these strips behind the hole, one at the top and one at the bottom, or on the sides, holding them in place with drywall screws through the existing wall. This gives your patch something to screw into.
- Attach the Patch:
- Fit your cut piece of drywall into the hole.
- Secure it to the backing or directly to the wall with drywall screws.
- Tape the Joints:
- Apply drywall tape around the edges of the patch. Mesh tape can be applied directly, while paper tape might need to be embedded in a thin
- layer of joint compound.
- Apply Joint Compound:
- Spread joint compound over the tape and patch with a putty knife, feathering the edges to blend with the wall.
- Let it dry completely. This might take several hours or overnight.
- Sand and Smooth
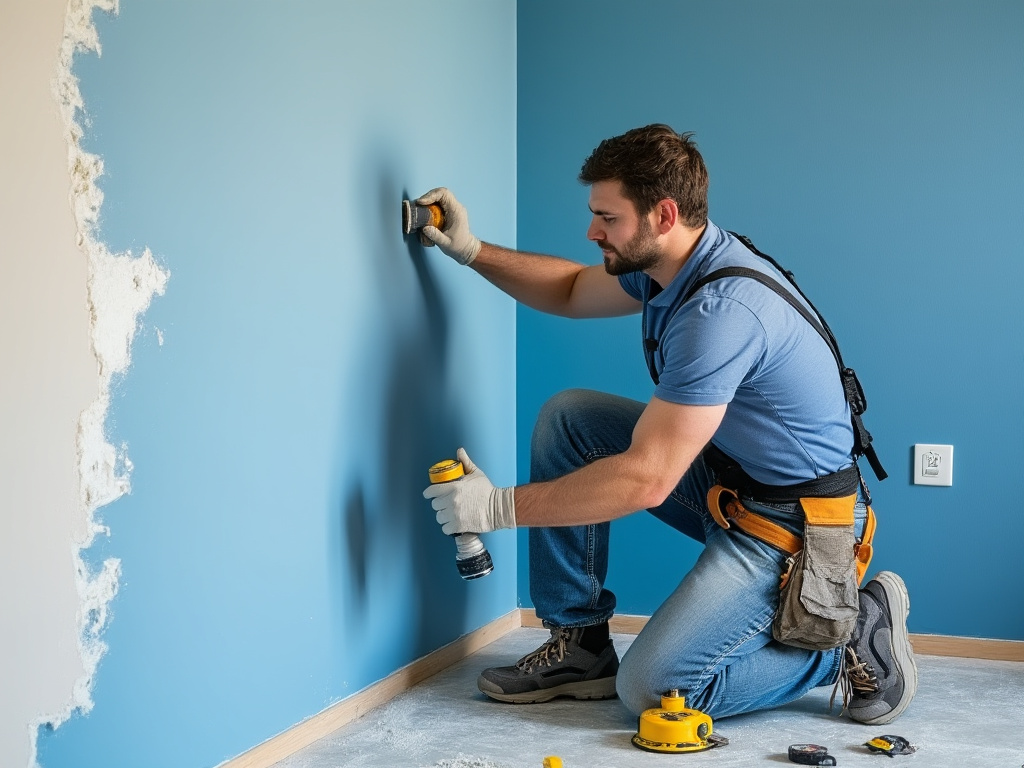
- Once dry, sand the area until it’s smooth and flush with the rest of the wall. Wipe away dust with a damp cloth.
- Additional Coats:
- Apply additional thin coats of joint compound if necessary, allowing each to dry and sanding between coats until the surface is perfectly smooth.
- Prime and Paint:
- Prime the patched area to seal the new compound.
- Once the primer is dry, paint over the area with a color that matches the rest of your wall. You might need to paint a larger area or the entire wall for color uniformity.
- Texture (If Necessary):
- If your wall has a texture, you’ll need to match this texture on your patch before painting. Techniques vary depending on the texture (e.g., using a texture spray, a sponge, or a stipple brush).

Remember, patience is key in drywall repair to ensure each layer of compound dries completely before sanding or adding the next layer. Also, if this feels beyond your comfort level, or if you’re dealing with particularly large or structural repairs, it might be wise to call in a professional.

