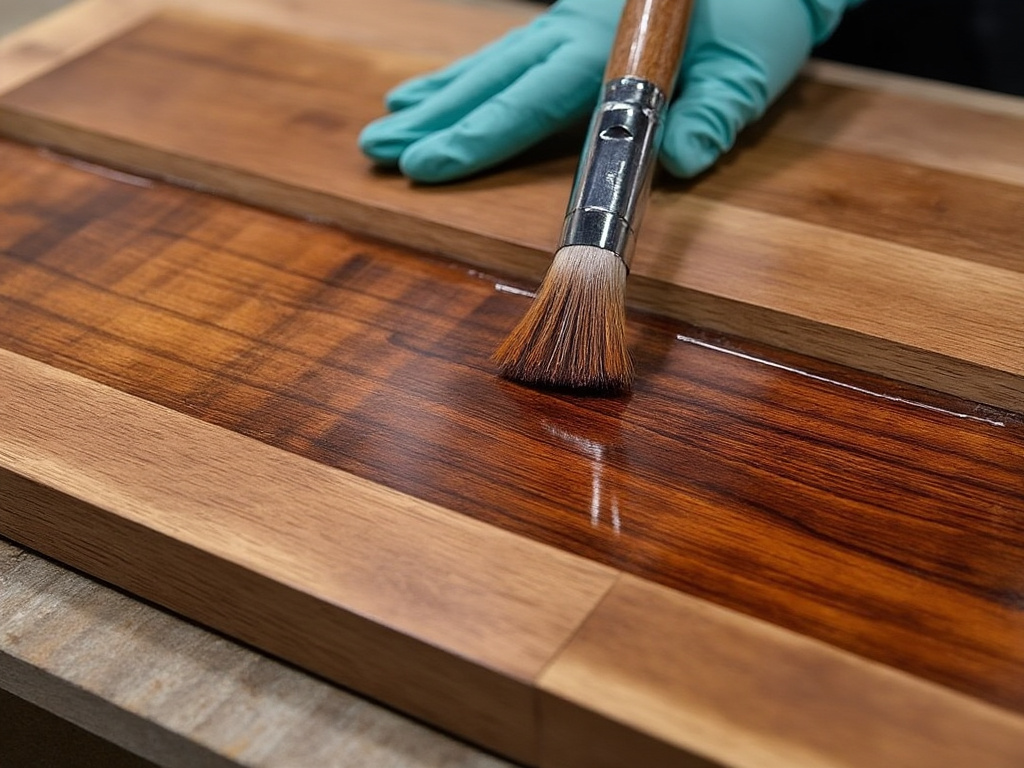
Staining wood can enhance its natural beauty and add color while allowing the grain to show through. Here’s a step-by-step guide on the best way to stain wood:
Preparation:
- Choose the Right Stain:
- Oil-based stains: Penetrate deeply, durable, and might need mineral spirits for cleanup.
- Water-based stains: Easier to clean up, dries faster, but might raise the wood grain.
- Gel stains: Thicker, good for vertical surfaces or when you want less penetration (like on pine).
- Sand the Wood:
- Start with a coarse grit (100-120) to remove imperfections.
- Progress to finer grits (up to 220) for a smooth finish. Always sand in the direction of the grain.
- Clean the Wood:
- Remove all dust with a tack cloth or a vacuum. Any dust left can affect the evenness of the stain.
- Pre-Stain Conditioner (if necessary):
- Softwoods like pine or areas with blotchy wood might need a wood conditioner to help the stain absorb evenly.
Application:
- Stir the Stain:
- Never shake it, as this can introduce bubbles. Stir well to ensure the color is consistent.
- Test the Stain:
- Apply on a scrap piece of the same wood or an inconspicuous area to ensure you like the color and see how it absorbs.
- Apply the Stain:
- Brush or Cloth: Use a brush or lint-free cloth to apply the stain. Work in the direction of the wood grain.
- Foam Brush: Good for oil-based stains; easy to control and apply evenly.
- Spray: Can be used for an even coat but might require practice to avoid drips or runs.
- Wipe Off Excess:
- After allowing the stain to penetrate for the time recommended by the manufacturer (usually 5-15 minutes), wipe off excess stain with a clean cloth. The longer it sits, the darker the color.
- Let it Dry:
- Follow the drying time on the can, which can vary greatly between products. Typically, water-based stains dry faster than oil-based.

Finishing:
- Multiple Coats:
- If a darker color is desired, apply additional coats, but ensure each coat dries completely before applying the next.
- Seal the Stain:
- Once you’ve achieved the desired color and the stain is dry, apply a clear protective finish:
- Polyurethane for durability (oil or water-based).
- Varnish or lacquer for a classic look.
- Tung oil or Danish oil for a more natural, hand-rubbed finish.
- Once you’ve achieved the desired color and the stain is dry, apply a clear protective finish:
- Buff Between Coats:
- Lightly buff with fine-grit sandpaper (e.g., 320 or higher) or steel wool between coats of finish for a smoother result, then clean off the dust.
Tips:
- Ventilation: Ensure good ventilation, especially with oil-based products.
- Consistency: Keep a wet edge to avoid lap marks.
- Temperature: Work in a temperature-controlled environment if possible, as extreme temperatures can affect drying times and application.
Remember, practice makes perfect. If you’re unsure about how a stain will look or how to apply it, doing a small test project first can save a lot of hassle on your main piece.

